Fooling around with masks & shadows in SwiftUI

Dive into the technical world of SwiftUI where masks meet shadows. Learn how to creatively manipulate visual elements for stunning interfaces with our comprehensive tutorial, featuring easy-to-follow examples

Fooling around with masks & shadows in SwiftUI
The masks and shadows workshop. A legendary place. Quick, have a peek before the owner comes back!

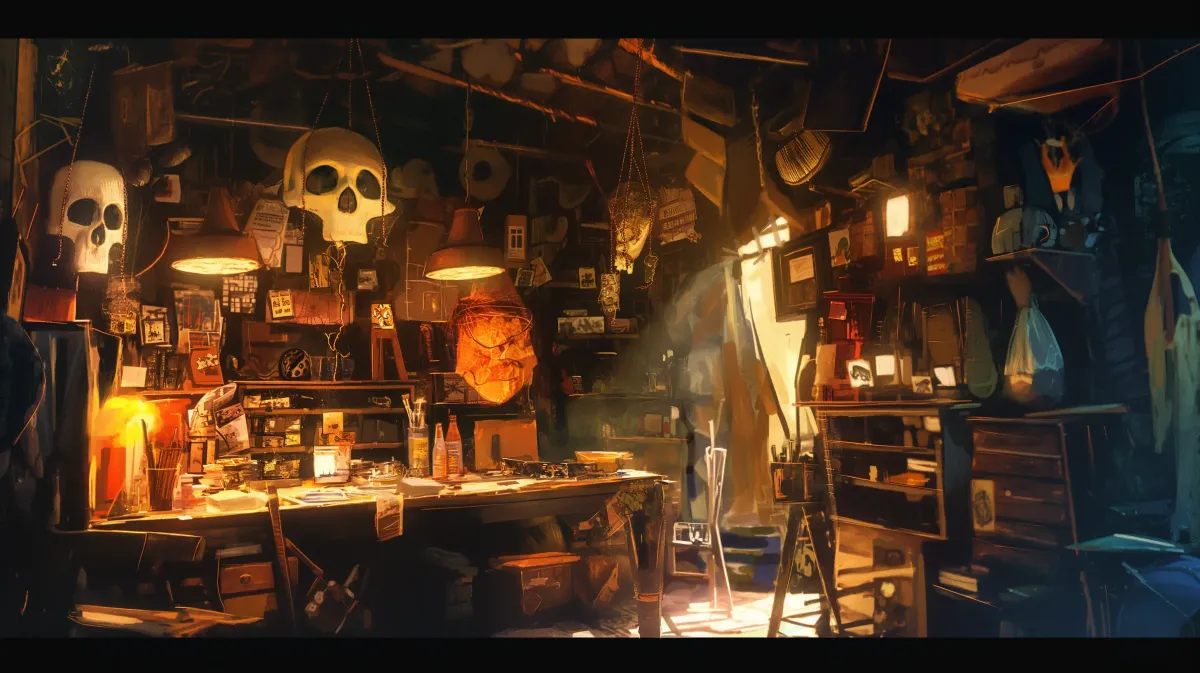
Masks are a fun thing. No, not these masks, although they do seem fun too. No, rendering masks. The kind you find in Photoshop, Blender, Maya, and Final Cut Pro. What is a mask? It's a way to edit an image using another image.

One example would be masking an image with some text, giving that text a dashing style.

How to mask one view with another - a free SwiftUI by Example tutorial
Learn Swift coding for iOS with these free tutorials

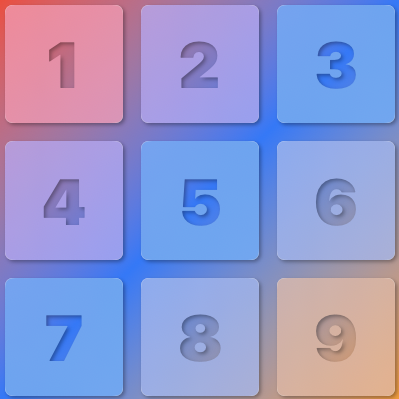
But we can't do much more. SwiftUI masking takes into account the alpha of the masking view, allowing us to "cut" and "punch through" our views to reveal what's underneath (basically, the reverse of what Paul did in the link above), and render it in real-time at runtime. Allowing us to do this:

Now, there is a cost to playing around with masks and shadows. A rendering cost. Often in the form of off-screen rendering. That is, views rendered only as intermediate steps, and discarded without ever being shown, in computing the actual final rendering of the view that will end up being displayed. This can occur, for example, when drawing shadows, hence the strong suggestion to use shadowPaths.

iOS Performance tips (I): Drawing shadows
IT blog and CV

Offscreen rendering can take a toll on a device, and lead to stuttering, frame drops, and overall poor performance. Especially when using table views, collection views, lazy stacks and lazy grids.

It also occurs when using masks. And here, we're using both masks and shadows. So keep that in mind when using what we'll learn here today.

Setup

To build the example above, we'll need a LazyVGrid, and a view for the items displayed. Since this isn't a post about gradients, we'll start with it already set.

import SwiftUI

public struct ItemView: View {
    public struct ViewModel: Identifiable {
        public let id: UUID
        let name: String
    }

    let viewModel: ViewModel

    public var body: some View {
        RoundedRectangle(cornerRadius: 8)
            .overlay {
              Text(viewModel.name)
                .font(.system(size: 64, weight: .black))
                .background(.white)
            }
    }
}


public struct ItemsListView: View {
    let items: [ItemView.ViewModel]

    public var body: some View {
        LinearGradient(
            colors: [.red, .blue, .orange],
            startPoint: .topLeading,
            endPoint: .bottomTrailing
        )
        .ignoresSafeArea(.container)
        .overlay {
            GeometryReader { geometry in
                LazyVGrid(columns: [.init(.adaptive(minimum: geometry.size.width / 3 - 15))]) {
                    ForEach(items) { item in
                        ItemView(viewModel: item)
                            .frame(height: geometry.size.width / 3 - 15)
                            .padding(5)
                    }
                }
                .frame(width: geometry.size.width, height: geometry.size.height)
            }
        }
    }
}

@main
struct testApp: App {
    let items = (1...9).map { index in ItemView.ViewModel(id: UUID(), name: String(index)) }

    var body: some Scene {
        WindowGroup {
            ItemsListView(items: items)
        }
    }
}

Which looks like this:

the white background was added so we could read the digits

The background

First, we'll add a semi-transparent background, using materials.

public struct ItemView: View {
    public struct ViewModel: Identifiable {
        public let id: UUID
        let name: String
    }

    let viewModel: ViewModel

    public var body: some View {
        RoundedRectangle(cornerRadius: 8)
            .fill(.ultraThinMaterial)
            .overlay {
                Text(viewModel.name)
                    .font(.system(size: 64, weight: .black))
            }
    }
}

Border shadow

Now, if you look back at the original image, you can see the cells "popped" from the background. That's thanks to a shadow. Let's add it.

public struct ItemView: View {
    public struct ViewModel: Identifiable {
        public let id: UUID
        let name: String
    }

    let viewModel: ViewModel

    public var body: some View {
        RoundedRectangle(cornerRadius: 8)
            .fill(.ultraThinMaterial)
            .overlay {
                Text(viewModel.name)
                    .font(.system(size: 64, weight: .black))
            }
            .shadow(radius: 2, x: 2, y: 2)
    }
}

Masking

Oh, that looks great! Now, let's add our mask, and "punch through" our cell.

public struct ItemView: View {
    public struct ViewModel: Identifiable {
        public let id: UUID
        let name: String
    }

    let viewModel: ViewModel

    public var body: some View {
        RoundedRectangle(cornerRadius: 8)
            .fill(.ultraThinMaterial)
            .mask {
                Text(viewModel.name)
                    .font(.system(size: 64, weight: .black))
                    .foregroundColor(.black)
            }
            .shadow(radius: 2, x: 2, y: 2)
    }
}

Yeah. No. That's not what we were aiming for. Ok, as an advanced take-home project, I'll leave it up to you, reader, to figure out...

... just kidding.

Ok, so, what's wrong here?

compositingGroup()

First, our Text isn't treated as a mask. For it to be, we need to rasterise it, using .compositingGroup.

public struct ItemView: View {
    public struct ViewModel: Identifiable {
        public let id: UUID
        let name: String
    }

    let viewModel: ViewModel

    public var body: some View {
        RoundedRectangle(cornerRadius: 8)
            .fill(.ultraThinMaterial)
            .mask {
                Text(viewModel.name)
                    .font(.system(size: 64, weight: .black))
                    .foregroundColor(.black)
                    .compositingGroup()
            }
            .shadow(radius: 2, x: 2, y: 2)
    }
}

Better. Our text now masks our blurry semi-transparent rounded rectangle. But that's not it, it is? We're masking the rectangle to our text, which looks cute, but we aren't punching our text through the background. How do we do that?

Inverted masking and luminance

What we need is a mask telling us to keep everything but our text. An inverted mask. A mask where everything is there except the space taken up by our text.

Masking, in SwiftUI, relies on the mask's alpha, or transparency. A mask area with an alpha of 0 will be removed that area from the masked view. A mask area with an alpha of 1 will keep the masked view's corresponding area intact.

But there's another to mask: using luminance. How bright or dark an area is. Which can then be converted to an alpha, using .luminanceToAlpha().

public struct ItemView: View {
    public struct ViewModel: Identifiable {
        public let id: UUID
        let name: String
    }

    let viewModel: ViewModel

    public var body: some View {
        RoundedRectangle(cornerRadius: 8)
            .fill(.ultraThinMaterial)
            .mask {
                RoundedRectangle(cornerRadius: 8)
                    .fill(.white)
                    .overlay {
                        Text(viewModel.name)
                            .font(.system(size: 64, weight: .black))
                            .foregroundColor(.black)
                    }
                    .compositingGroup()
                    .luminanceToAlpha()
            }
            .shadow(radius: 2, x: 2, y: 2)
    }
}

Much better, right? Thanks, Vlad. I would have spent quite a bit of time on it otherwise.

All of it put together

import SwiftUI

public struct ItemView: View {
    public struct ViewModel: Identifiable {
        public let id: UUID
        let name: String
    }

    let viewModel: ViewModel

    public var body: some View {
        RoundedRectangle(cornerRadius: 8)
            .fill(.ultraThinMaterial)
            .mask {
                RoundedRectangle(cornerRadius: 8)
                    .fill(.white)
                    .overlay {
                        Text(viewModel.name)
                            .font(.system(size: 64, weight: .black))
                            .foregroundColor(.black)
                    }
                    .compositingGroup()
                    .luminanceToAlpha()
            }
            .shadow(radius: 2, x: 2, y: 2)
    }
}


public struct ItemsListView: View {
    let items: [ItemView.ViewModel]

    public var body: some View {
        LinearGradient(
            colors: [.red, .blue, .orange],
            startPoint: .topLeading,
            endPoint: .bottomTrailing
        )
        .ignoresSafeArea(.container)
        .overlay {
            GeometryReader { geometry in
                LazyVGrid(columns: [.init(.adaptive(minimum: geometry.size.width / 3 - 15))]) {
                    ForEach(items) { item in
                        ItemView(viewModel: item)
                            .frame(height: geometry.size.width / 3 - 15)
                            .padding(5)
                    }
                }
                .frame(width: geometry.size.width, height: geometry.size.height)
            }
        }
    }
}

Taking it further

There are quite a lot of really nice things to do with that. The first example that comes to mind? Cards, with a blurred overlay, and the underlying picture showing through a cut-out rounded rectangle. Like this:

Isn't it gorgeous? I'll let you figure it out—a hint: multiple layers, and lots of masks.

We could also determine how bright or dark the picture is, or use the system dark mode or the background colour to adjust the inner shadows' colours dynamically. But that'll be for another time.

Epilogue

So, here you are. A, I hope, nice, short and simple introduction to combining masks and shadows in SwiftUI. Please keep in mind that although masks and shadows, inverted masks and inner shadows in particular, can help create gorgeous effects, they can have a significant impact on our apps' performances.

As always, please do reach out should you have any questions or improvements to suggest, and have a great!